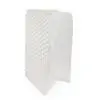
CREAgravel 20: The ideal solution for stable gravel walking and garden paths The CREAgravel 20 provides the perfect foundation for creating stable and low-maintenance gravel paths in your garden or public spaces. These gravel grids ensure that gravel stays firmly in place, making the path both walkable and suitable for light transport such as bicycles and wheelchairs. Whether you want to create a path to your terrace, through your garden, or around a pond, the CREAgravel 20 guarantees a flat and stable surface that will last for years.
CREAgravel 20
CREAgravel 20 provides an easy and durable solution for anyone looking for a stable and user-friendly gravel path. Not only adds practical benefits to your garden, but also ensures a stylish finish with natural gravel that stays well in place.
Find your distributor, price request or product question?
How many buckets of joint filler do I need?
Enter the dimensions below and we will calculate how many buckets you need.
Belgian quality product
CREAgravel gravel grids are produced entirely in Belgium. This allows us not only to deliver quickly, but also to carry out strict quality controls. This ensures that our gravel grids offer the best solution for every application!
Frost-resistant gravel grids in HDPE
CREAgravel gravel grids are frost-resistant plates made of HDPE (High-Density Polyethylene). These gravel stabilisation grids remain flexible even at temperatures down to -20°C. Gravel grids made of other materials can break at cold temperatures, but HDPE offers a reliable solution here.
Extremely strong geotextile
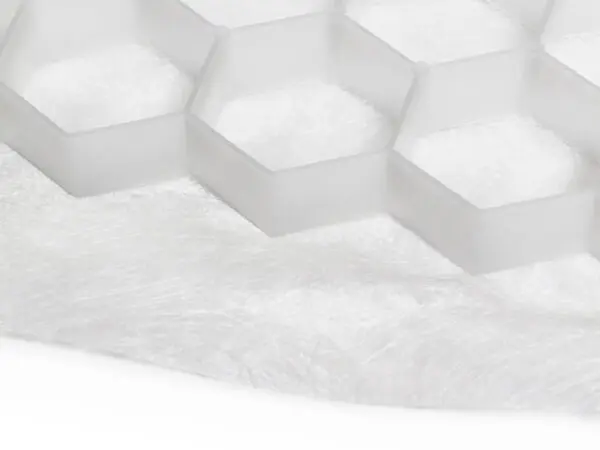
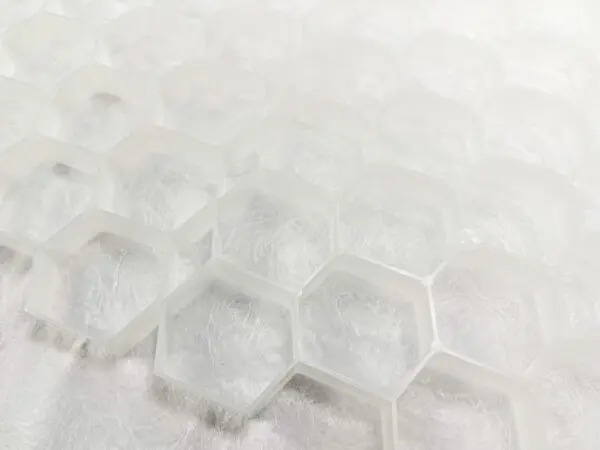
The composition of the weed membrane (geotextile) has also been given great attention. This fabric prevents pebbles from getting underneath the plate. CREAgravel’s geotextile is 100% bonded and made of polyester, a very strong material. Thanks to its open structure, rainwater can quickly seep to the subsoil, keeping your gravel paving clean. Moreover, plants and grasses cannot attach as easily, which limits weed growth.
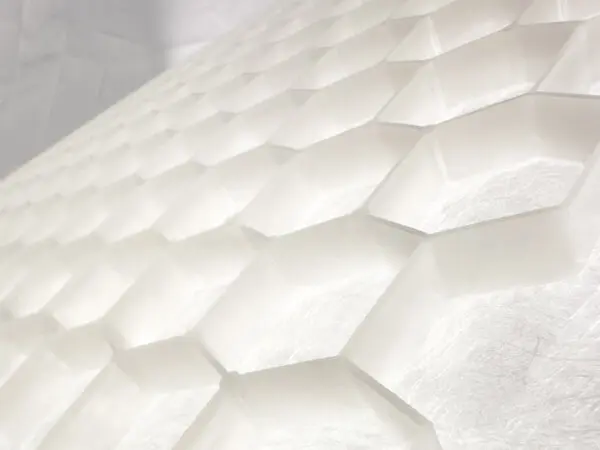
With CREAgravel gravel grids, you create a permeable surface with a natural appearance. The combination of the permeable geotextile and the sturdy honeycomb structure prevents ruts and puddles, minimizes dust, and ensures that the gravel does not shift or settle beneath the gravel grids after installation. These gravel grids are versatile for lighter applications:
- Garden paths
- Terrace paths
- Cycle paths
- Paths around ponds or garden features
- Accessible walking paths
By placing the grids under the gravel, you get a stable surface that is walkable and passable, even with a bicycle, wheelchair or pram and in all weather conditions.
Installation manual for CREAgravel gravel stabilisation grids
The installation of CREAgravel gravel grids is easy and quick to accomplish.
Equipment
- Spade
- Border stones
- Plate compactor
- Grinder
- Shovel
- Broom
- Rake
- Floor squeegee
- Gloves and protective clothing
- Limestone chippings, porphyry chippings or crushed concrete rubble (for foundation layer)
- Limestone, porphyry or screen sand (for levelling layer)
- Gravel
Step 1: Excavation
- Perform the necessary excavation work and always remove the top layer of topsoil.
- Excavate to a depth of 20-25 cm for applications without vehicles.
Step 2: Installation of coping stones
- Position the border stones so that they extend 2 cm above the level of the top of the gravel plate.
- Make sure the border stones are firm and straight.
Step 3: Application of the leveling layer
- Apply a levelling layer of fine gravel, vibrate it and level the surface.
- For applications with the Creagravel 20, this is 15 cm.
- Use limestone, porphyry (grain size: 2-4 mm, 1-3 mm or 0-4 mm) or sieve sand.
Stap 4: Installing CREAgravel gravel grids
- Lay the CREAgravel grids with overlapping geotextile.
- Cut the plates to size with a grinding wheel (wear gloves and protective clothing when doing so).
Step 5: Applying gravel
- Fill the gravel grids with gravel.
- Level the gravel with a shovel, broom, rake and squeegee. Do not compact the decorative gravel.
- Allow the gravel to protrude 1 to 2 cm above the plates, depending on the grain size.
- Due to natural compaction, the gravel will still collapse a little. Eventually, the gravel should be just enough to make the CREAgravel plates invisible.
- For applications with Creagravel 20, use gravel with a grain size of 4-16 mm.
Step 7: Inspection and levelling
- After a few weeks, inspect the surface and level where necessary.
- Add gravel in places where subsidence has occurred. No further subsidence will occur.
With these steps and tips, you will ensure a durable and stable gravel solution with CREAgravel gravel stabilisation grids. Good luck!
Characteristics honeycomb structure
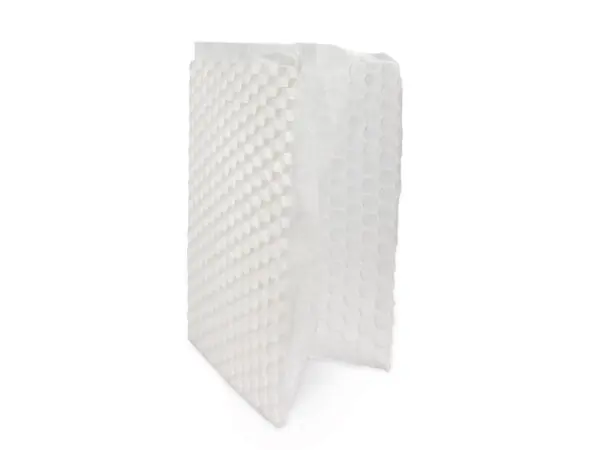
- Plate dimensions (*): 80 x 60 cm
- Plate height (**): 2 cm
- Honeycomb diameter: 43 mm
- HDPE density: 0.95 g/cm³
- Honeycomb material: 100% HDPE – high-density polyethylene
- 100% recyclable: Yes
Characteristics geotextile
- Material: Non-woven polyester
- Color: White
- Weight geotextile: 50 g/m²
- Adhesion geotextile: Adhesion resistance to honeycomb structure
- Overlap geotextile: on two sides of the plate
- Tensile strength: 65 N/5 cm (EN 29073/3)
- Tear strength: 70 N (DIN 53363)
Mechanical properties
- Flexibility: Very high
- Chemical stability: Very high
- UV stability: In case of long-term exposure: yes / when stored indoors: n/a
- Coefficient of thermal expansion: N/A (forces of expansion are absorbed by the flexibility of the plate)
- Low temperature behaviour: retains its flexibility
Practical properties
| Height (**) | Length x Width (*) | m²/plate | gravel/m² |
| 2 cm | 80 x 60 cm | 0.48 | 35 kg |
* a tolerance of about 2% ** a tolerance of about 1.5 mm


